Buying, storing and preparing straw
As you will have read in the hat industry section, many types of straw were and still are used in the making of a straw hat. In the corn dolly and decorative straw work world only cereal crop straws are used. That is the tradition, but mixed media artists should realise that many the the plaits can be made from other materials, or other materials can be incorporated with the cereal crop straw. Whichever straw you decide to use do remember that each type of straw has different working qualities, some types and varieties of straw will work better for certain techniques than others.
Have fun playing.
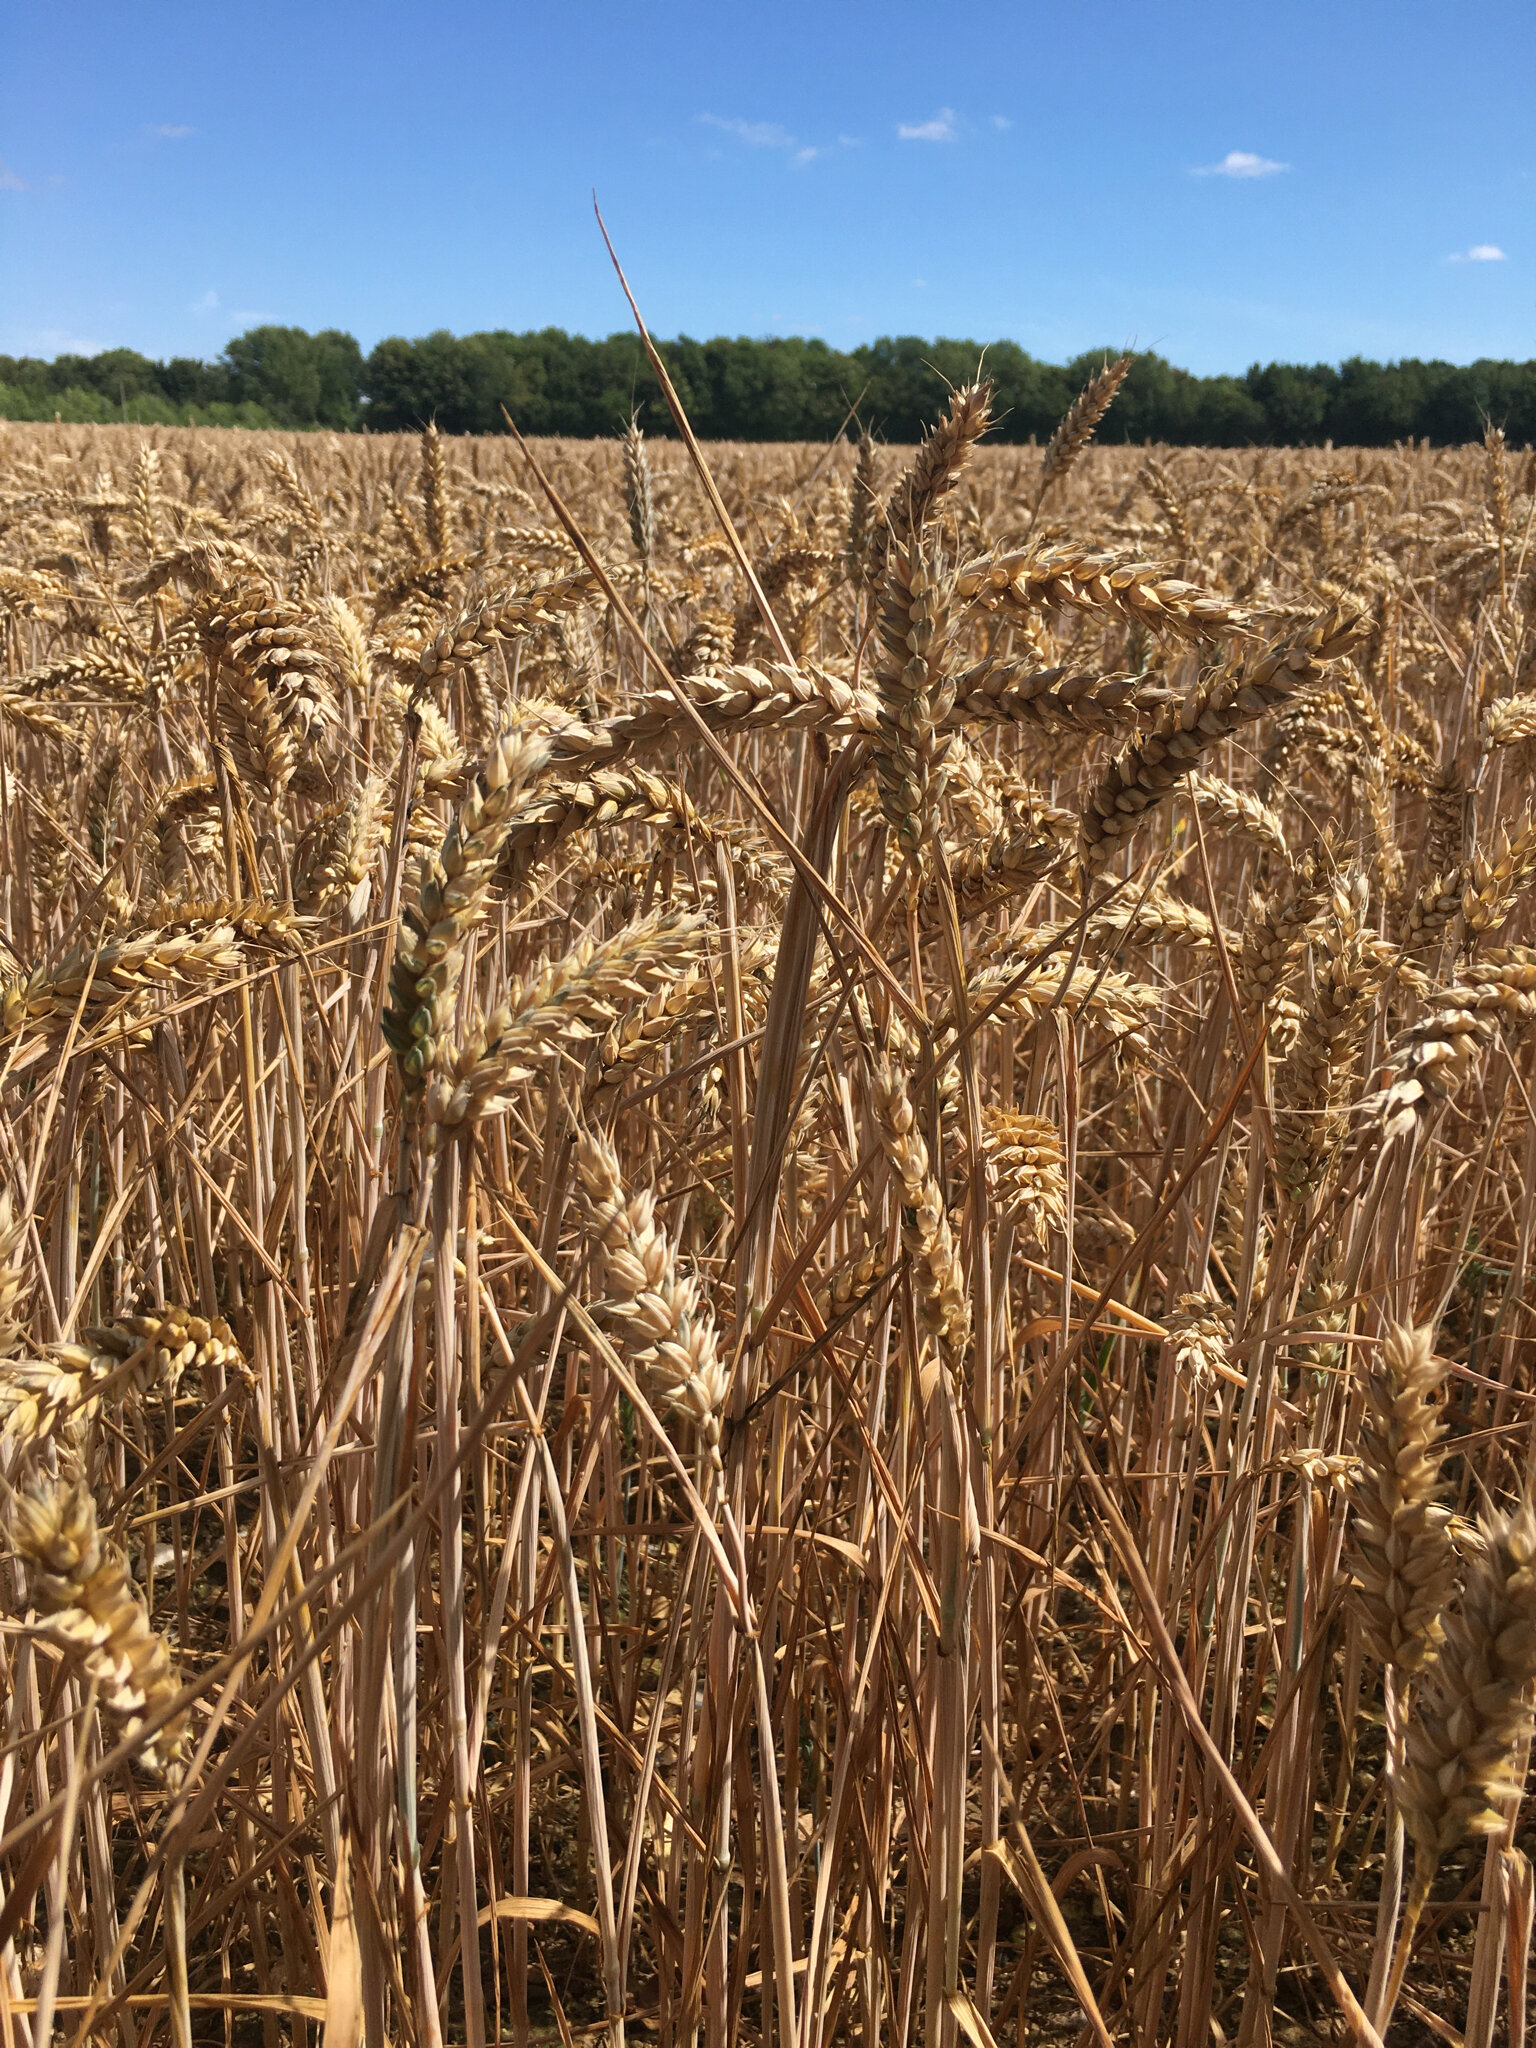
Wheat field, Oxfordshire, England
Copyright: Hatplait 2020
Types of straw
The most commonly used straw in the UK and USA is wheat that is normally purchased from specialist growers. They either grow it specifically for straw workers or in the UK for thatchers.
Corn dolly making and decorative straw work requires a long straw as straws are not normally joined during working. There are not so many of the old varieties grown these days. Maris Widgeon is the most commonly available variety in the UK, but there are other suitable ones.
It is possible to use some of the modern varieties provided they have thinner wall and hollow stem. The short length will limit what can be made using them and there may have to be some variations to normal working, but it can be possible.

Wheat straw, freshly cut
Copyright: Hatplait 2020
Buying straw
Straw is normally supplied as a sheaf that will have to be prepared. Some suppliers do sell ready prepared bundles of straw, but they will cost more since they have done the work for you. It is also possible to buy bleached and dyed straws from craft suppliers in Europe and the USA.
In the UK the main supplier is Simply Straw based in Derbyshire. The grower sells Maris Widgeon wheat by the sheaf or ready prepared. Oat and rye straw is also available. www.simplystraw.co.uk
In the USA the principal supplier for dyed, bleached and natural rye and wheat straw is: https://thestrawshop.com/ This straw can be used for plaiting but is more suited to straw marquetry, some decorative and Swiss straw work techniques. There are other suppliers of wheat straws and details can be supplied by contacting: https://nawwstraw.org/
In Switzerland Claudia Künzi based between Zurich and Luzern supplies straw: https://www.getreidedeko.ch/
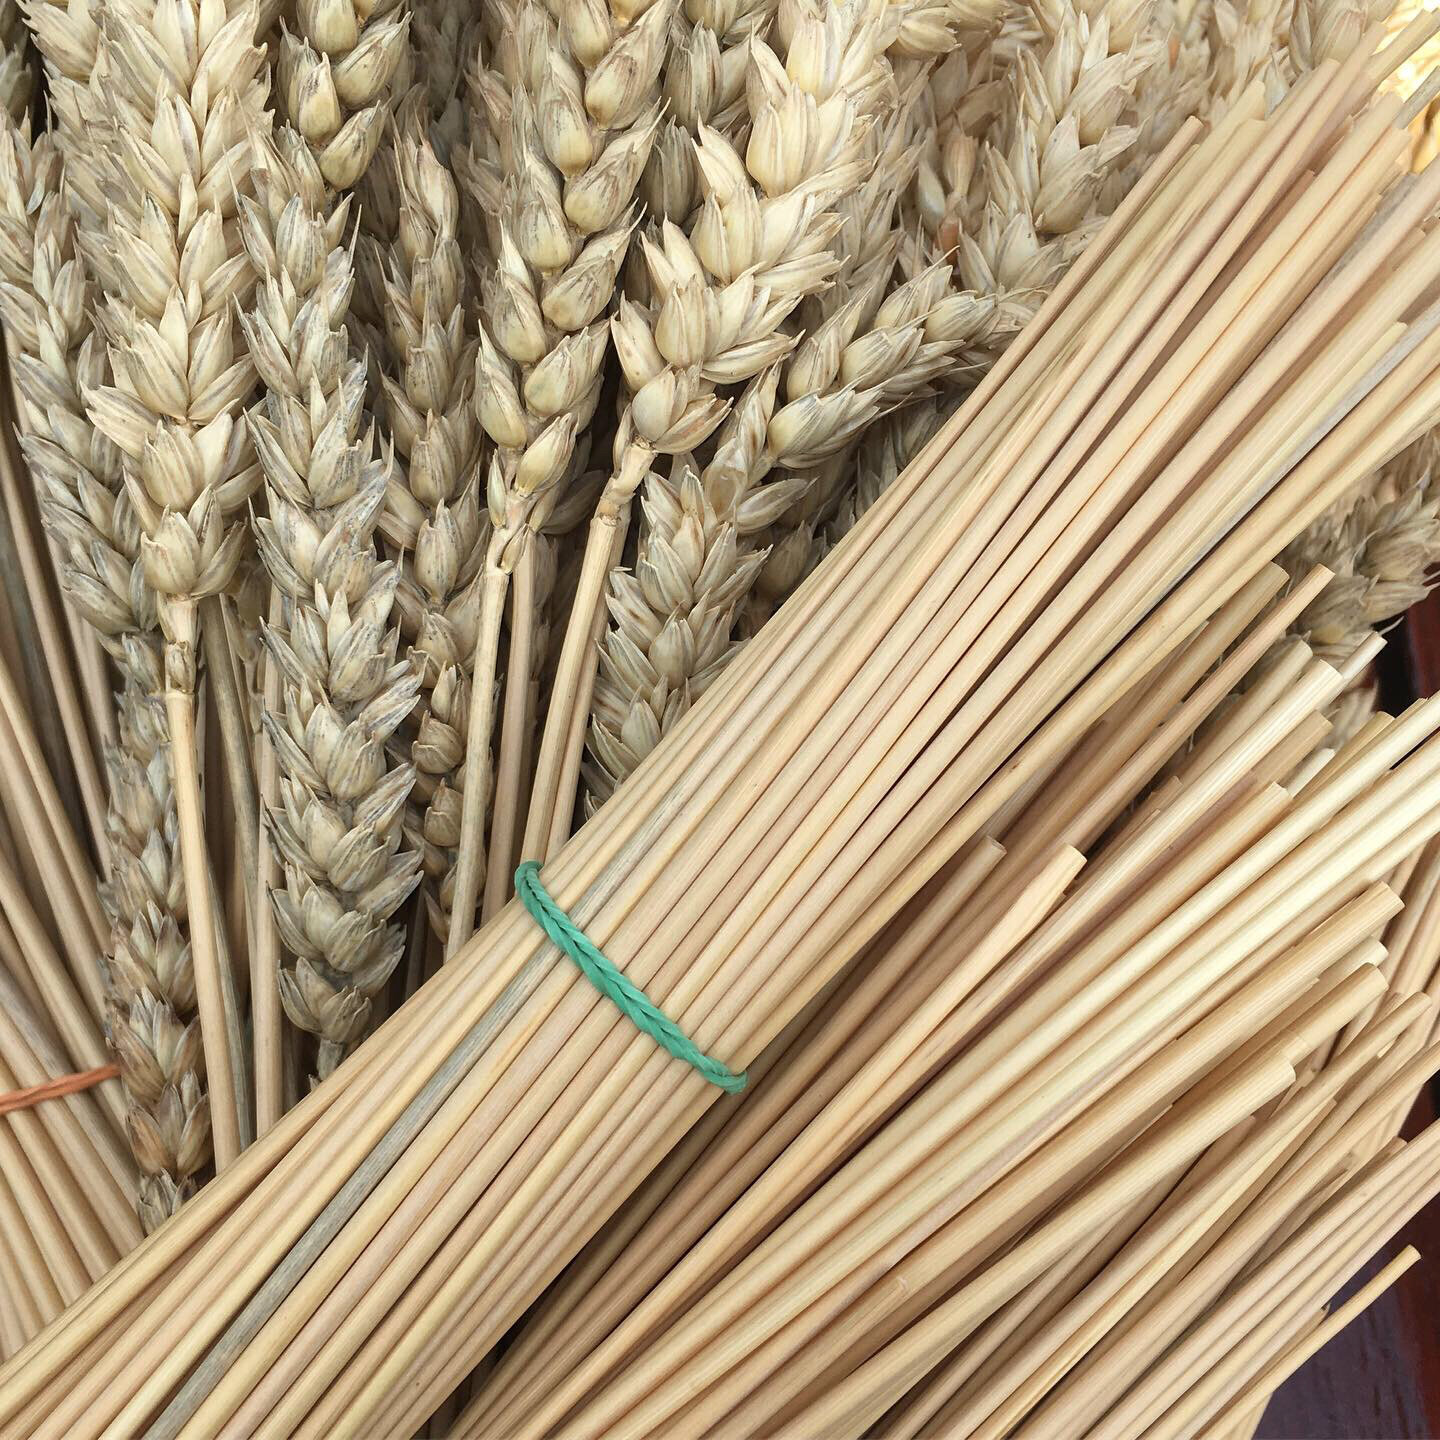
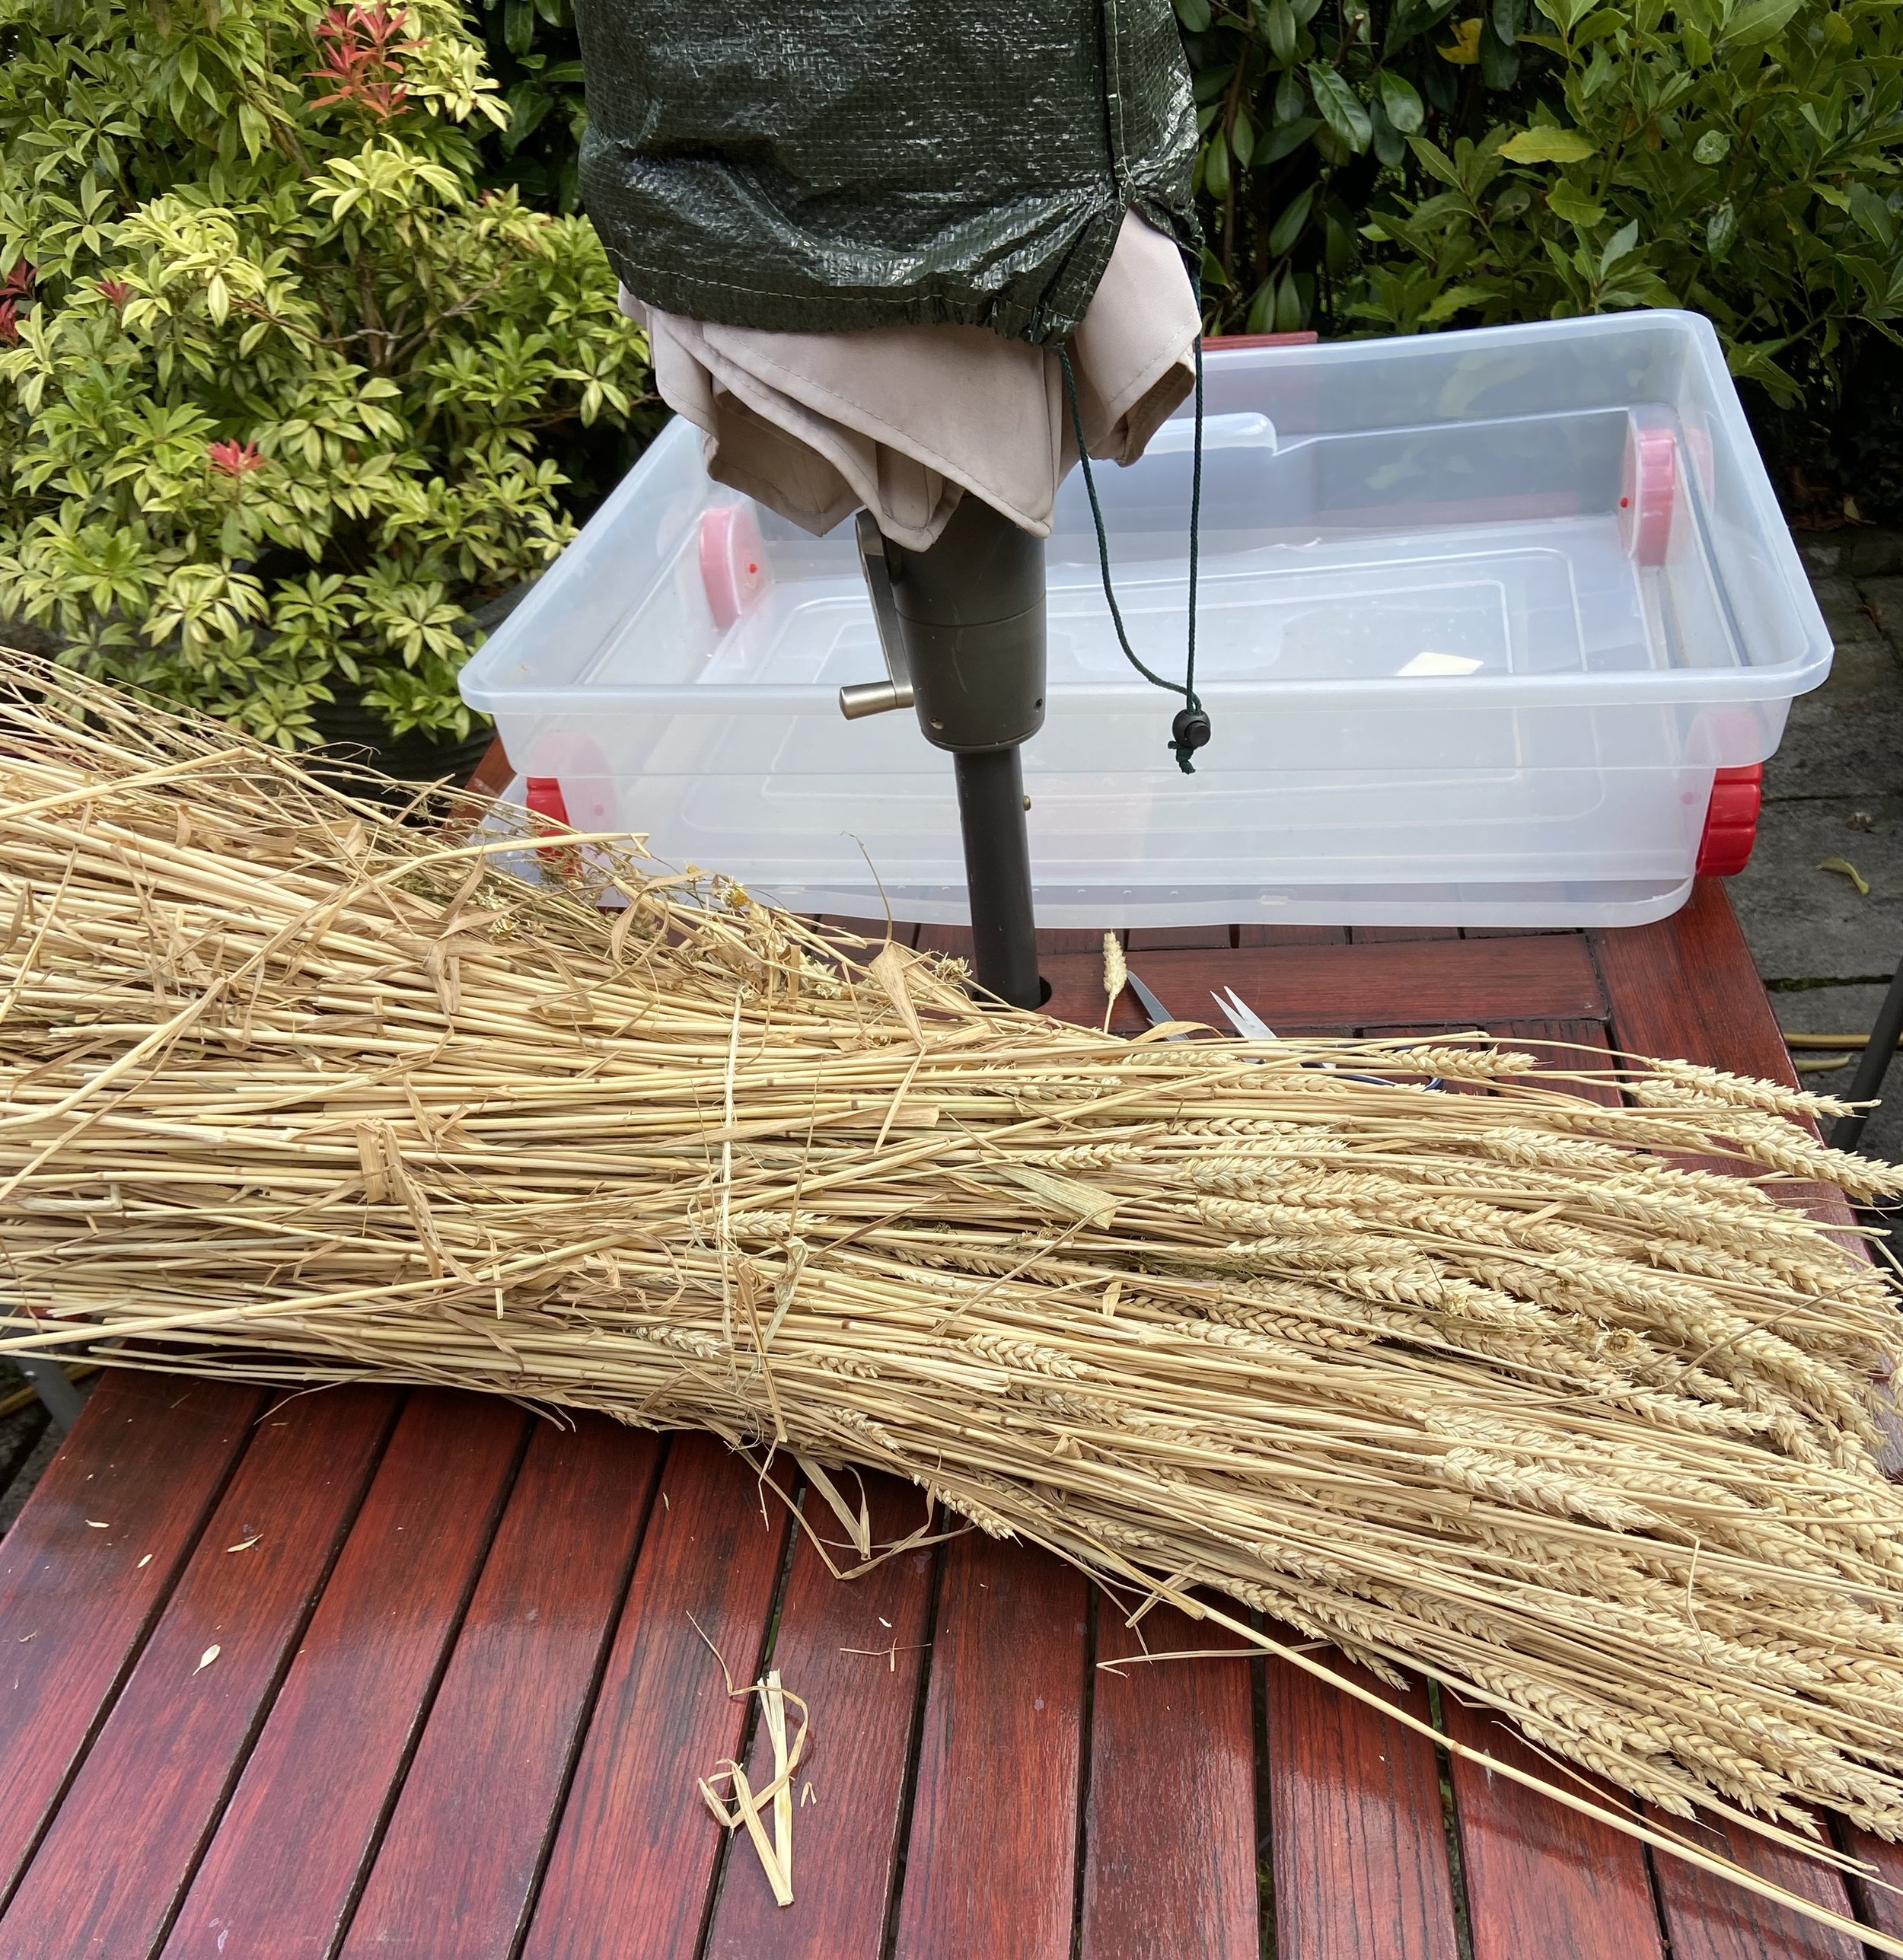
Wheat straw, prepared and sorted
Copyright: Hatplait 2020

Preparing and storing straw
The top section of the straw, between the head (ear) and first leaf joint is most commonly used part of the stem, but adventurous mixed media artists working with straw will also save the flag (leaf), lower joints and leaf nodes since all can play their part in designs. Nothing need be wasted!
To prepare the straw simply look for the leaf node or joint closest to the head. Cut the stem on the head side of the node. The leaf will slide away and the straw is revealed. As you work through the sheaf, which will probably contain about 500 straws, you will notice the straw stems are of various thickness and length. It is important to sort the straws into groups of similar thicknesses. Once prepared store the straw in sealed boxes. The straw can attract rodents if stored in an outhouse so do put it into a secure box.
Once ready to work the straw requires damping. Only soak as much as you need for one working session. It is not advisable to repeatedly soak the same straw. The length of time needed will vary according to the variety, age and thickness of the straw. Thin top joint wheat straw may only require thirty minutes whilst thicker straw and straw from the lower joints may require an hour. Use hand hot water for soaking. Do not leave the straw soaking for longer than necessary or the natural sheen will be lost and the straw can become too soft to work.
The simple guide for knowing how long to soak the straws:
Bend the straw towards the thicker end of the stem, if it bends without cracking and springs back when released then it is ready.